 how-to
9 Steps to Prevent Humidity Damage to Antiques in Storage
Quick Summary
To prevent humidity damage antiques in storage, measure the room's humidity first with a digital hygrometer, then keep conditions steady, away from basements and outside walls. Clean and dry each piece, wrap it in breathable materials, and use desiccants or a dehumidifier to control moisture.
- Measure humidity with a digital hygrometer away from radiators and outside walls before storing anything.
- Stable conditions matter more than perfect ones, so avoid areas that swing between damp and dry.
- Wrap pieces in cotton sheets or acid-free tissue, not plastic sheeting pressed directly onto wood.
- Check hygrometer readings at least once a week and record them to spot trends.
- Replace or recharge silica gel packets once they become saturated.
Table of Contents
- Why Humidity Damage Happens to Stored Antiques
- Step 1: Measure the Humidity Before You Store Anything
- Step 2: Choose a Storage Environment That Holds Steady Conditions
- Step 3: Clean and Dry Each Piece Thoroughly
- Step 4: Pack Antique Furniture for Storage the Right Way
- Step 5: Control Moisture With Desiccants and Dehumidifiers
- Step 6: Protect Against Mould on Furniture in Storage
- Step 7: Set Up a Monitoring Routine
- Booking Your Antique Storage With Fletcher Removals and Storage
- Frequently Asked Questions
Why Humidity Damage Happens to Stored Antiques
Last Updated: October 30, 2026
Antiques are often more vulnerable in storage than they are on display. A room that feels fine to you may be quietly damaging wood, paper and metal. Humidity damage builds slowly, so most people only notice it after the harm is done. This guide explains how to stop it before your furniture is affected.
Humidity is the amount of water vapour in the air (Understanding humidity). When the air is damp, wood absorbs moisture and swells. When it dries out, the wood shrinks and can crack. Both changes stress joints, veneers and finishes over time.
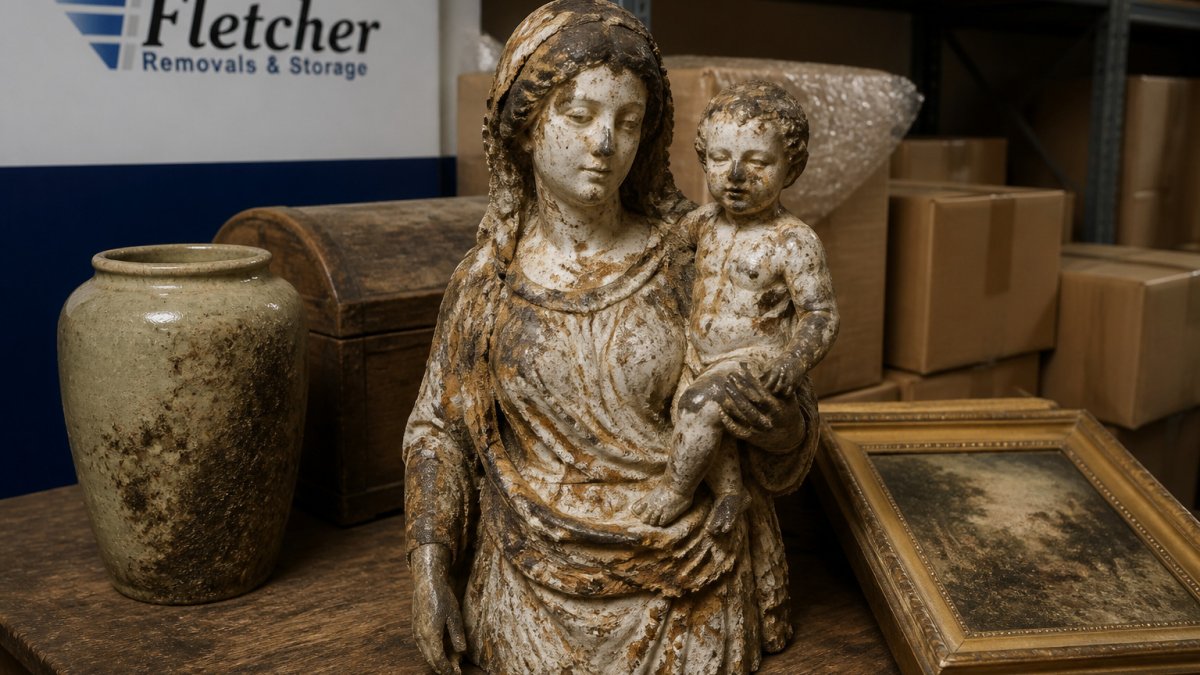
Mould is another risk. Warm, damp air encourages mould growth on wood, upholstery and textiles. Mould can stain surfaces and, in some cases, be very hard to remove completely.
Metal is affected too. Moisture speeds up rust on hardware, clock mechanisms and silver. Once corrosion starts, it can spread across a piece quickly.
- Wood can swell, warp or split
- Veneers can lift away from the base
- Paper, prints and documents can curl or stain
- Upholstery and textiles can rot or grow mould
- Metal parts can rust or corrode
Step 1: Measure the Humidity Before You Store Anything
Measure the humidity in the room before any furniture goes in. A simple digital hygrometer is enough for most homes and costs little. Place it away from radiators, windows and outside walls, where readings can be misleading.
Take readings at different times of day and over several days. Humidity often rises overnight and in wet weather. A single reading can hide these swings.
Many people are surprised by what they find. A room can feel dry and still sit at a damaging level. Keep a note of your readings so you can compare them later.
The steps below each set out what to do and how often, so here is a quick reference for the key actions.
| Step | What to do | Time or frequency |
|---|---|---|
| Measure humidity | Use a digital hygrometer away from radiators and outside walls | Readings at different times over several days |
| Monitor routine | Check the hygrometer and record readings | At least once a week |
| Inspect stored items | Check wrapping, desiccants and signs of moisture | Monthly |
| Empty dehumidifier | Empty the water tank or connect it to a drain | Regularly |
| Recharge desiccants | Replace or recharge saturated packets | When saturated |
Step 2: Choose a Storage Environment That Holds Steady Conditions
Stable conditions matter more than perfect ones. A space that swings between damp and dry does more harm than one that stays slightly off target. Look for a room with good insulation and no direct contact with outside walls.
Avoid basements, lofts and garages unless they are properly controlled. These areas are prone to condensation and temperature changes. Ground-floor rooms without good ventilation can also trap damp air.
If you use a commercial storage unit, ask what climate control it offers. Some facilities keep humidity steady in their storage areas, while others do not. Fletcher Removals and Storage offers on-site warehouse storage, so check with the team about the conditions available for your items.
Step 3: Clean and Dry Each Piece Thoroughly
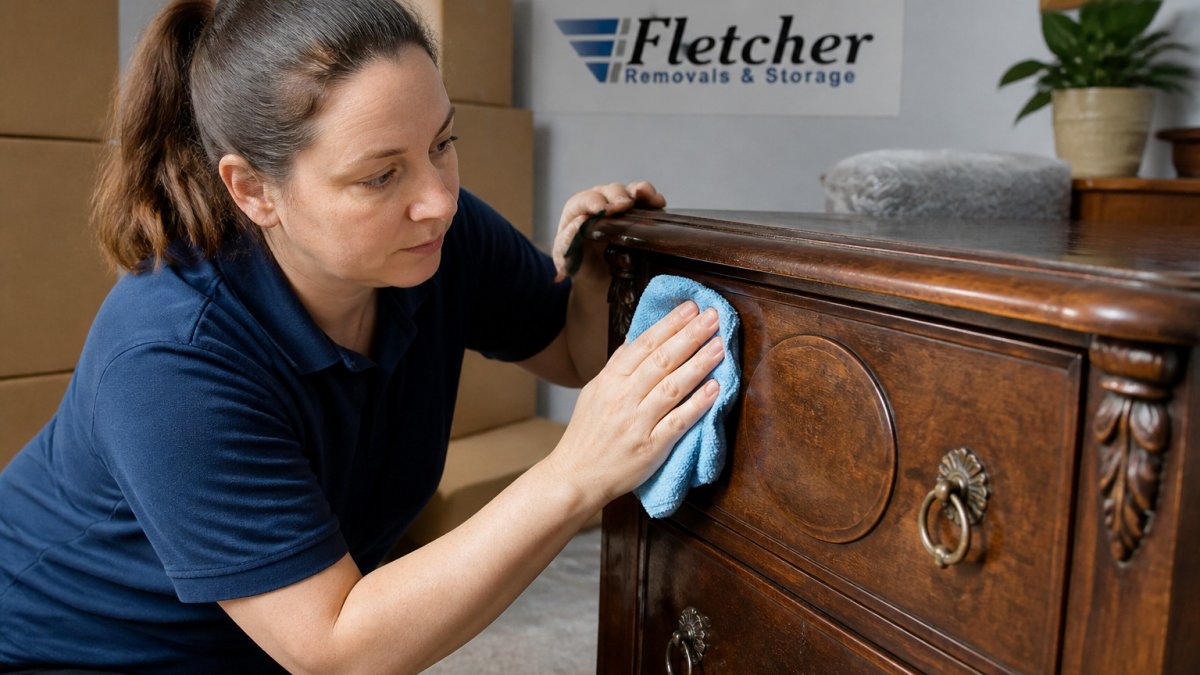
Clean every piece before it goes into storage. Dust, grime and old polish can hold moisture against the surface and encourage mould. Use a soft, dry cloth and a cleaner suited to the finish. Test any product on a hidden area first.
Dry each item completely before wrapping it. Even slight dampness trapped under covers can cause problems weeks later. Let pieces air out in a dry room for a day or two if you are unsure.
Pay attention to drawers, cupboards and the backs of pieces. These spots are easy to miss and often hold dust or moisture.
Step 4: Pack Antique Furniture for Storage the Right Way
Good packing protects against both moisture and knocks. Wrap pieces in breathable materials such as cotton sheets or acid-free tissue paper. Avoid plastic sheeting pressed directly onto wood, because it traps moisture against the surface.
Use cardboard or wooden corner guards to protect edges. Keep drawers closed but not locked, so air can still move slightly. Remove loose fittings and store them in labelled bags.
For fragile pieces, use padding and bracing inside the wrapping. If you are unsure how to protect a delicate item, ask a professional to advise before packing.
Step 5: Control Moisture With Desiccants and Dehumidifiers
Desiccants absorb moisture from the air in a small space. Silica gel packets work well inside cabinets and drawers. Place them near items rather than against them, and replace or recharge them when they become saturated.
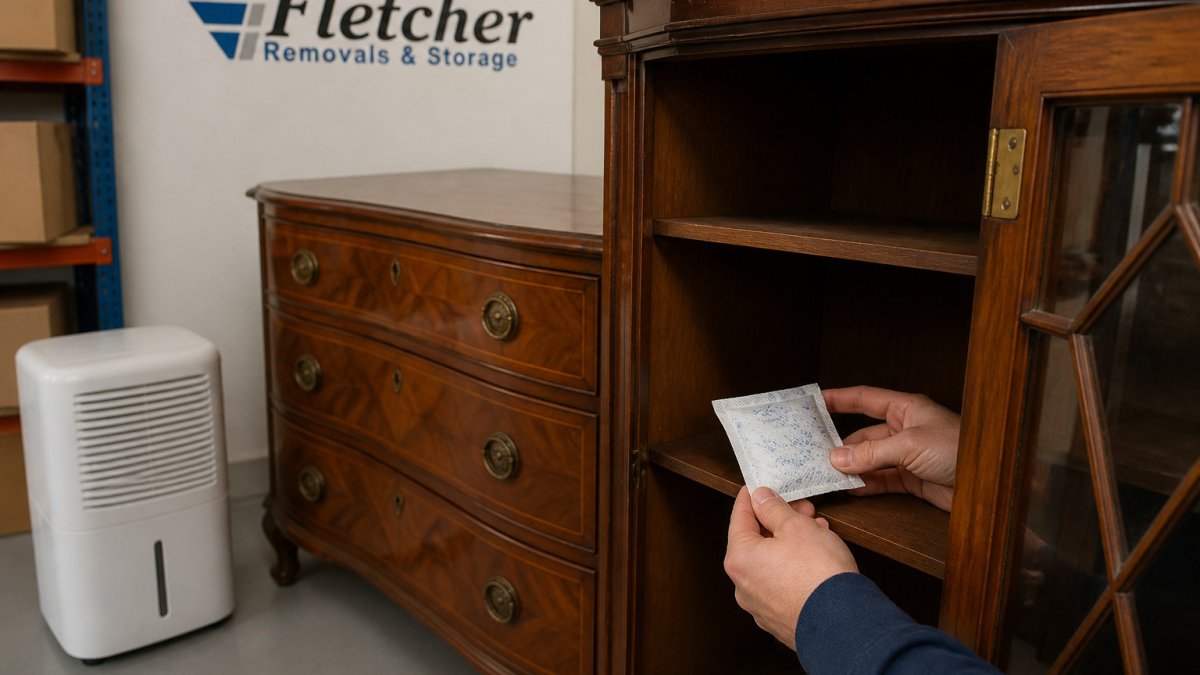
A dehumidifier suits larger rooms. Set it to maintain a steady level and empty the water tank regularly, or connect it to a drain. Running it constantly without monitoring can cause the room to become too dry, so check your readings.
Never rely on desiccants alone for a large storage area. They work best as a supplement to controlled conditions rather than a complete solution.
Step 6: Protect Against Mould on Furniture in Storage
Mould grows quickly in damp, still air. Good airflow and dry conditions are the best defence. Keep items off the floor and away from walls, using pallets or blocks to allow air to circulate.
Check stored pieces regularly for any sign of growth. Small patches can spread fast if left alone, so act early.
Spotting Early Signs of Mould
Look for these warning signs during your checks:
- A musty or earthy smell
- Dark spots or fuzzy patches on wood or fabric
- White or grey growth along seams and joints
- Warped paper, sticky surfaces or raised finishes
If you spot mould, move the item to a dry, ventilated space and avoid touching the growth with bare hands. Consult a conservator before attempting any cleaning, as the wrong method can damage the finish.
Step 7: Set Up a Monitoring Routine
Monitoring is what keeps everything else working. Check your hygrometer at least once a week, and more often during wet or humid seasons. Record the readings so you can spot trends.
Inspect stored items at regular intervals. Look at wrapping, desiccants and any signs of moisture or pests. Replace worn packaging and recharge desiccants when needed.
Keep a simple checklist:
- Check humidity readings weekly
- Inspect wrapping and furniture monthly
- Recharge or replace desiccants when saturated
- Empty dehumidifier tanks regularly
- Note any changes in smell, colour or texture
Booking Your Antique Storage With Fletcher Removals and Storage
Protecting antiques takes planning, but you do not have to manage every detail alone. Fletcher Removals and Storage can help with packing, dismantling and secure storage, so your pieces are handled with care from start to finish. Our trained, uniformed staff work with goods in transit and public liability insurance in place, and pricing is transparent with no hidden fees.
For a quote on storing your antiques, contact us through our Contact Us page. If you are also arranging the move, our Storage Company in Coventry with Removals service covers transport and secure storage in one go. You can read more about Removals Coventry for help getting your pieces to the unit safely.
Frequently Asked Questions
What humidity level is safe for storing antiques?
Most conservators aim for relative humidity between roughly 45% and 55%, with stable conditions mattering as much as the exact figure. Wild swings cause wood to swell and shrink, which loosens joints and cracks finishes. Use a hygrometer to log readings for a few weeks before you commit to a storage space, and avoid rooms where levels rise above 60%, since that is when mould growth becomes a real risk for organic materials such as wood, leather and textiles.
How can I stop mould forming on antiques in storage?
Mould needs moisture, warmth and still air, so remove the first and third conditions where you can. Clean and fully dry each piece before it goes into storage, keep items off bare concrete floors, and leave gaps between furniture and walls for airflow. Place desiccants or a dehumidifier in the room, and check pieces regularly for white or green fuzz, musty smells or damp patches. Treat any early growth promptly with a soft dry brush before it spreads.
Should antiques be covered when they are in storage?
Yes, but the covering matters. Breathable cotton sheets or acid-free wrapping protect surfaces from dust and light without trapping moisture. Avoid plastic sheeting or bin bags placed directly against wood, as they hold condensation against the surface and encourage mould. If you use plastic at all, keep it loose, away from the piece, and leave the cover open at the base so air can circulate.
Can silica gel protect antiques from humidity?
Silica gel absorbs moisture effectively in small, sealed spaces such as drawers, display cases and boxes, which makes it useful for protecting small fragile items. In a larger room it cannot keep up with ambient humidity on its own. Place sachets in amounts suited to the enclosed volume, monitor them with an indicator card, and recharge or replace them as they saturate, as a spent sachet offers no protection.